

Last Updated: November 15, 2026
Quick Summary
To perform emergency first aid at home, follow the Check, Call, Care sequence: check the scene for danger, call 911, then give care. Name the most urgent problem first, breathing, then bleeding, then everything else, and start CPR immediately if the person is unresponsive and not breathing normally.
- Tap and shout to check responsiveness; for an infant, tap the sole of the foot and never shake a baby.
- Push hard and fast in the center of the chest at least 100 to 120 compressions per minute for an adult.
- For a choking adult, alternate 5 back blows and 5 abdominal thrusts until the object clears.
- Cool a burn with running water for 20 minutes and never use ice, butter, or toothpaste.
- Place an unresponsive but breathing person in the recovery position on their side to keep the airway open.
Table of Contents
- Assessing the Scene and Checking Responsiveness Safely
- CPR and AED Use at Home: What to Do Before Help Arrives
- First Aid for Choking: Back Blows and Abdominal Thrusts
- How to Stop Bleeding With Direct Pressure and Bandaging
- First Aid for Burns: Cool Running Water and When to Escalate
- Your Home First Aid Kit Checklist for Ontario Households
- When Home First Aid Is Not Enough: Mistakes to Avoid
- Booking a First Aid Course in Nepean
- Frequently Asked Questions
Assessing the Scene and Checking Responsiveness Safely
Emergency first aid at home starts with one rule: protect yourself before you help anyone. This guide walks you through the skills families most often need, in the order you would actually use them. (Source: Heart and Stroke Foundation of Canada)
Knowing how to perform emergency first aid at home means acting in a clear sequence. A simple frame used in Red Cross first aid training is Check, Call, Care. You check the scene, call for help, then give care.
Check for Danger Before You Touch Anyone
Stop and look before you move. Look for fire, smoke, water, traffic, downed wires, or spilled chemicals. In a home, the common hazards are hot stoves, broken glass, and pets that may bite a stranger.
- Is the person in a safe spot?
- Can you reach them without risk?
- Are there hazards you can remove first?
If the scene is unsafe, call 911 and wait. Do not become the next patient.
The First-Minute Decision Tree
Under stress, a short checklist beats a long one. Work through these four questions in order and let the answers point to your next action:
- Is the scene safe? If no, move away and call 911. If yes, go to step 2.
- Is the person responsive? Tap and shout. If no response, call 911 or direct someone to call, then go to step 3.
- Are they breathing normally? Look, listen, and feel for about 10 seconds. If not breathing normally, start CPR and send someone for an AED. If breathing normally but unresponsive, place them in the recovery position and monitor.
- Is there severe bleeding? If blood is spurting or soaking through cloth, apply firm direct pressure immediately and call 911. Control bleeding before moving on to other checks.
Naming the single most urgent problem first, breathing, then bleeding, then everything else, helps keep people from freezing. The decision tree is designed to rule out the fastest threats first.
Calling 911 in Nepean and Across Ontario
When you call 911 in Ontario, the dispatcher will ask for your location first. Give the street address, the nearest major intersection, and the apartment or unit number if you are in a multi-unit building.
- State what happened in one sentence: "An adult is not breathing" or "A child is choking."
- Give the person's age and whether they are conscious.
- Follow any instructions the dispatcher gives you while you wait.
- Send someone to unlock the door or meet paramedics at the entrance.
Watch out: do not delay the call to 911 while you search for a first aid kit or read instructions. The call and the care happen at the same time, with one person calling while another starts compressions if possible.
Checking Responsiveness in Adults, Children, and Infants
The check looks different depending on age. For an adult, tap the shoulders and shout. For a child, tap the shoulder and speak loudly.
Breathing checks also differ.
Watch out: gasping is not normal breathing. Agonal gasps are a common sign of cardiac arrest and often get mistaken for breathing.
Work through these four questions in order and let the answers point to your next action.
| Step | Question | If no | If yes |
|---|---|---|---|
| 1 | Is the scene safe? | Move away and call 911 | Go to step 2 |
| 2 | Is the person responsive? | Call 911, then go to step 3 | Check breathing and bleeding |
| 3 | Are they breathing normally? | Start CPR and send someone for an AED | Recovery position if unresponsive, monitor |
| 4 | Is there severe bleeding? | Continue other checks | Apply firm direct pressure and call 911 |
CPR and AED Use at Home: What to Do Before Help Arrives
CPR keeps blood moving to the brain until paramedics arrive. For an adult who is unresponsive and not breathing, start chest compressions immediately.
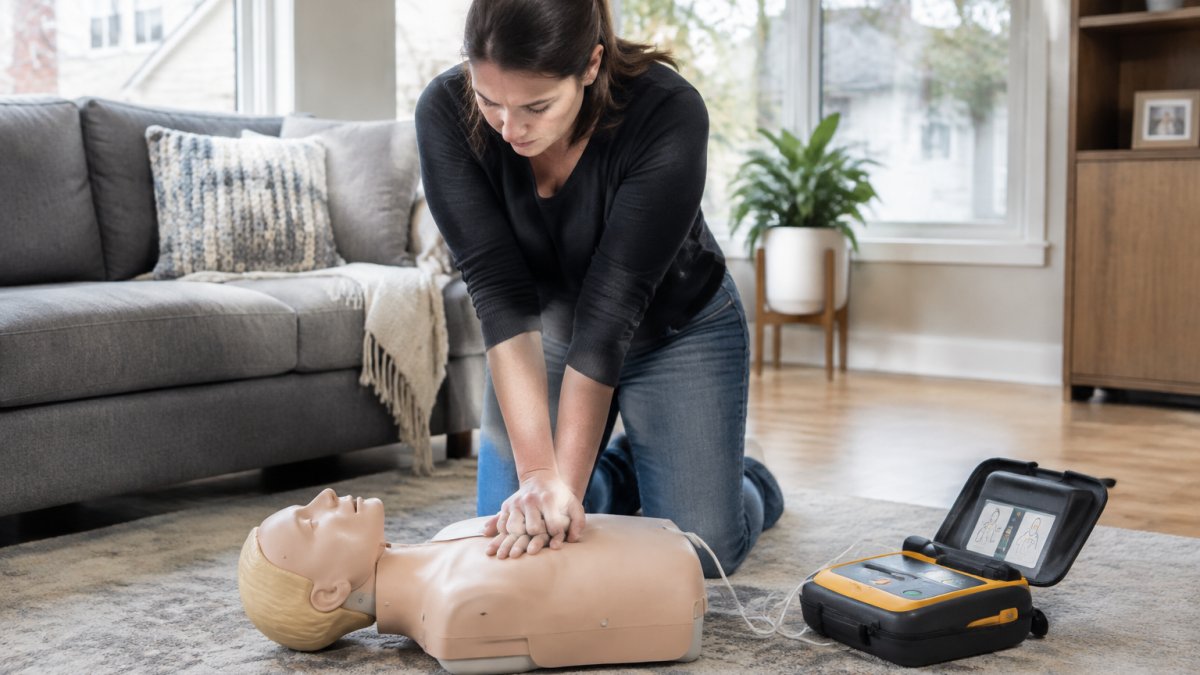
If you are trained, give 30 compressions then 2 rescue breaths. If not, hands-only CPR is still far better than nothing.
An AED is a small device that checks heart rhythm and delivers a shock if needed.
- Bare and dry the chest
- Attach the pads as shown on the pictures
- Stand clear during analysis and shock
First Aid for Choking: Back Blows and Abdominal Thrusts
First aid for choking depends on whether the airway is fully or partly blocked. The distinction matters because the wrong response, thrusts on a person who can still cough, can turn a partial block into a full one.
Mild Versus Severe Obstruction
A person with a mild obstruction can cough forcefully, speak, or breathe. Encourage them to keep coughing and stay with them. Do not slap their back or give thrusts while they are coughing effectively.
A person with a severe obstruction cannot speak, cough, or breathe, may clutch their throat, and may turn blue or gray around the lips. This is when you act. (Source: Workplace Safety and Insurance Board (WSIB) Ontario)
Adult and Child Over One Year: Conscious
- Give 5 firm back blows between the shoulder blades with the heel of your hand while supporting the person's chest with your other hand.
- If the object does not clear, give 5 abdominal thrusts just above the navel, pulling inward and upward.
- Alternate 5 back blows and 5 abdominal thrusts until the object clears or the person goes unresponsive.
- If they go unresponsive, lower them to the floor and start CPR. Each time you open the airway to give breaths, look in the mouth and remove the object only if you can see it.
Watch out: never do a blind finger sweep. You can push the object deeper into the airway.
Infant Under One Year
For an infant, use 5 back blows and 5 chest thrusts instead. Support the infant face-down along your forearm with the head lower than the chest, deliver 5 back blows between the shoulder blades, then turn the infant face-up and give 5 chest thrusts with two fingers on the lower half of the breastbone. Never give abdominal thrusts to an infant.
If You Are Alone and Choking
If you are alone and choking, call 911 if you can, then give yourself abdominal thrusts by pressing your fist above your navel and pulling inward and upward, or lean over the back of a sturdy chair and press your upper abdomen against it. Repeat until the object clears or help arrives.
After the Object Clears
Anyone who received abdominal thrusts should be seen by a health professional afterward, because thrusts can cause internal injury. Afterward, a health professional should check the person, especially if there is pain, vomiting, or difficulty breathing.
Watch out: a person who has been choking may still have part of the object in the airway even after they start breathing again.
How to Stop Bleeding With Direct Pressure and Bandaging
How to stop bleeding comes down to steady, firm pressure. Press a clean cloth or sterile gauze directly on the wound and hold it without lifting to peek.
- Add more gauze on top rather than removing soaked pads
- Wrap an elastic bandage over the dressing to keep pressure on
- Raise the injured limb above heart level if you can
For a deep or heavily bleeding wound, call 911. If bleeding soaks through, keep adding dressings and pressing. A triangular bandage can hold a limb dressing in place.
If you want training and supplies for severe bleeding control, see our Stop The Bleed program.
First Aid for Burns: Cool Running Water and When to Escalate
First aid for burns begins with cool running water for 20 minutes. Start cooling right away, even up to three hours after the injury.
- Do not use ice, butter, or toothpaste
- Do not break blisters
- Cover loosely with a clean, non-stick dressing
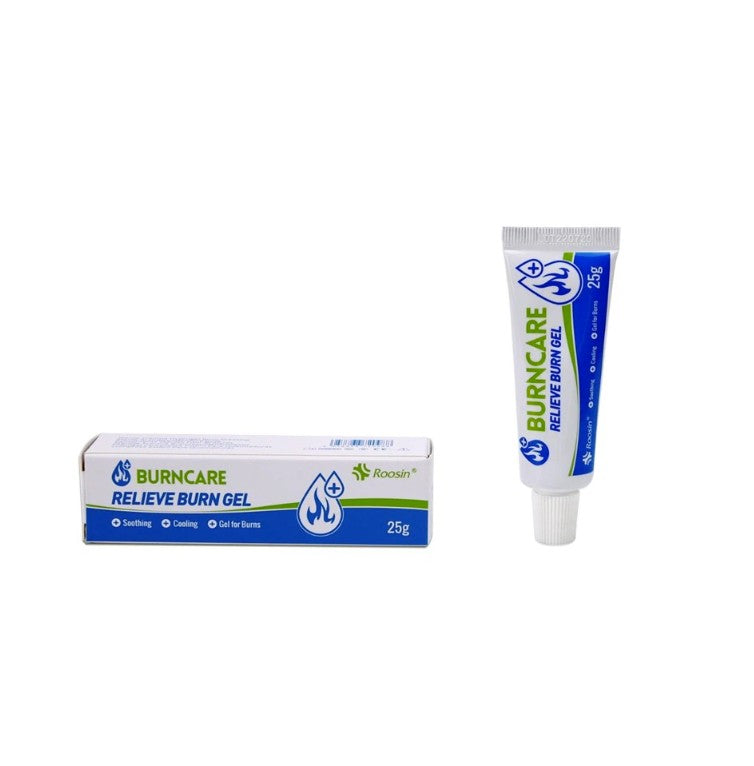
Call 911 for burns that are large, deep, on the face, hands, feet, or joints, or that involve smoke inhalation. For minor burns after cooling, a burn relief gel can soothe the area and protect it from dirt.
Your Home First Aid Kit Checklist for Ontario Households
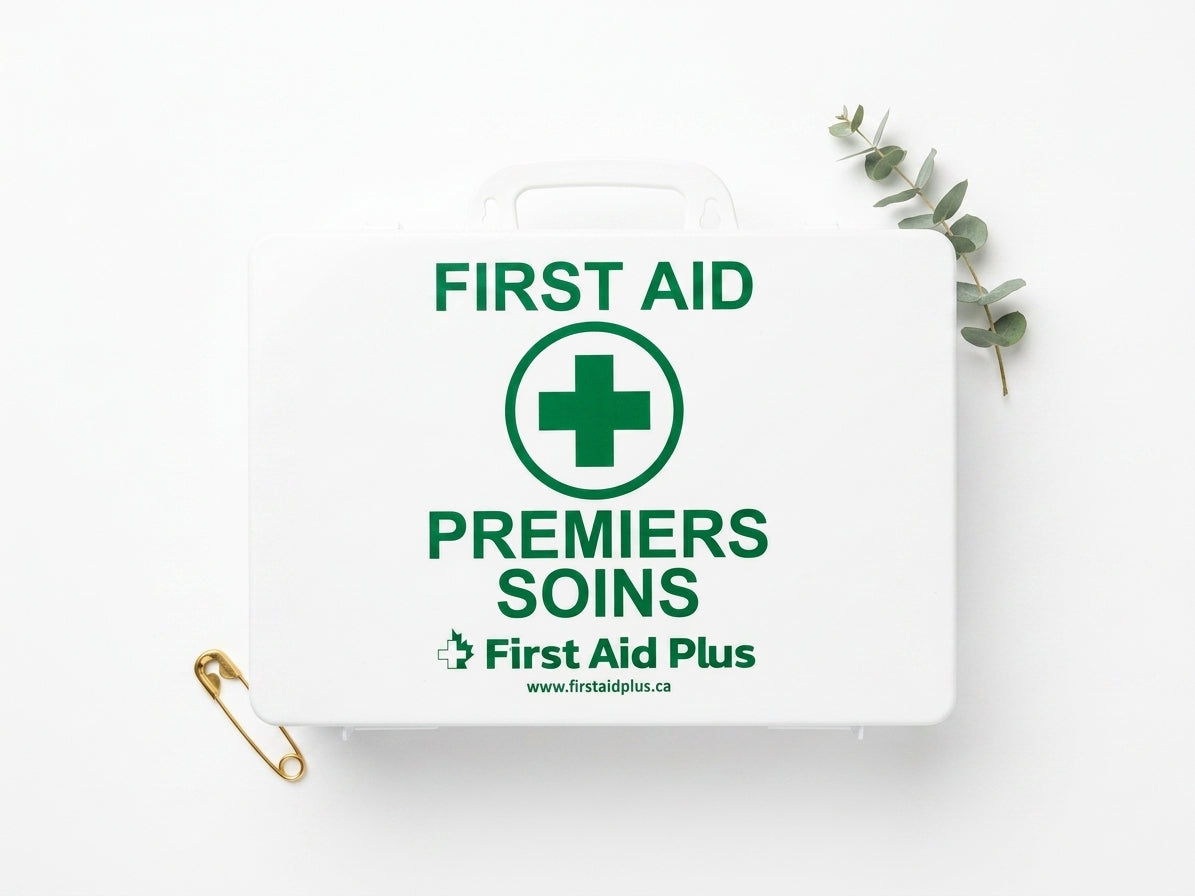
A home first aid kit should match your household, not a generic list. Check it regularly and replace anything past its expiry date.
- 5 pairs of nitrile gloves
- Sterile gauze pads in several sizes
- Elastic and triangular bandages
- Adhesive tape and a CPR mask
- Antiseptic wipes and a thermometer
- Instant cold pack and a SAM splint
If you would rather buy a complete kit than build one, our Deluxe Emergency First Aid Kit covers wounds, burns, and fractures in one bag.
When Home First Aid Is Not Enough: Mistakes to Avoid
Home first aid has limits, and knowing them matters. Call 911 or go to the nearest emergency department for chest pain, trouble breathing, a head injury with confusion, seizure, or heavy bleeding you cannot control.
Common mistakes we see:
- Moving a person with a suspected spine injury
- Leaving an unresponsive but breathing person flat on their back
- Delaying the call to 911 to keep treating
- Forgetting to check for a medical alert bracelet or allergies
If a person is unresponsive but breathing normally, place them in the recovery position on their side. This keeps the airway open and prevents choking on vomit.
Booking a First Aid Course in Nepean
Reading builds awareness. Practice builds skill. A hands-on course lets you rehearse compressions, choking response, and AED use before you ever need them.
First Aid Plus offers the Basic First Aid with CPR & AED course, a one-day, 8-hour class that covers CPR Level C and AED use at no extra cost.
Not sure which course fits? Our guide on how to choose a first aid course in Nepean breaks down the options. Ready to train? Book the Basic First Aid with CPR & AED course and practice these skills with a certified instructor.
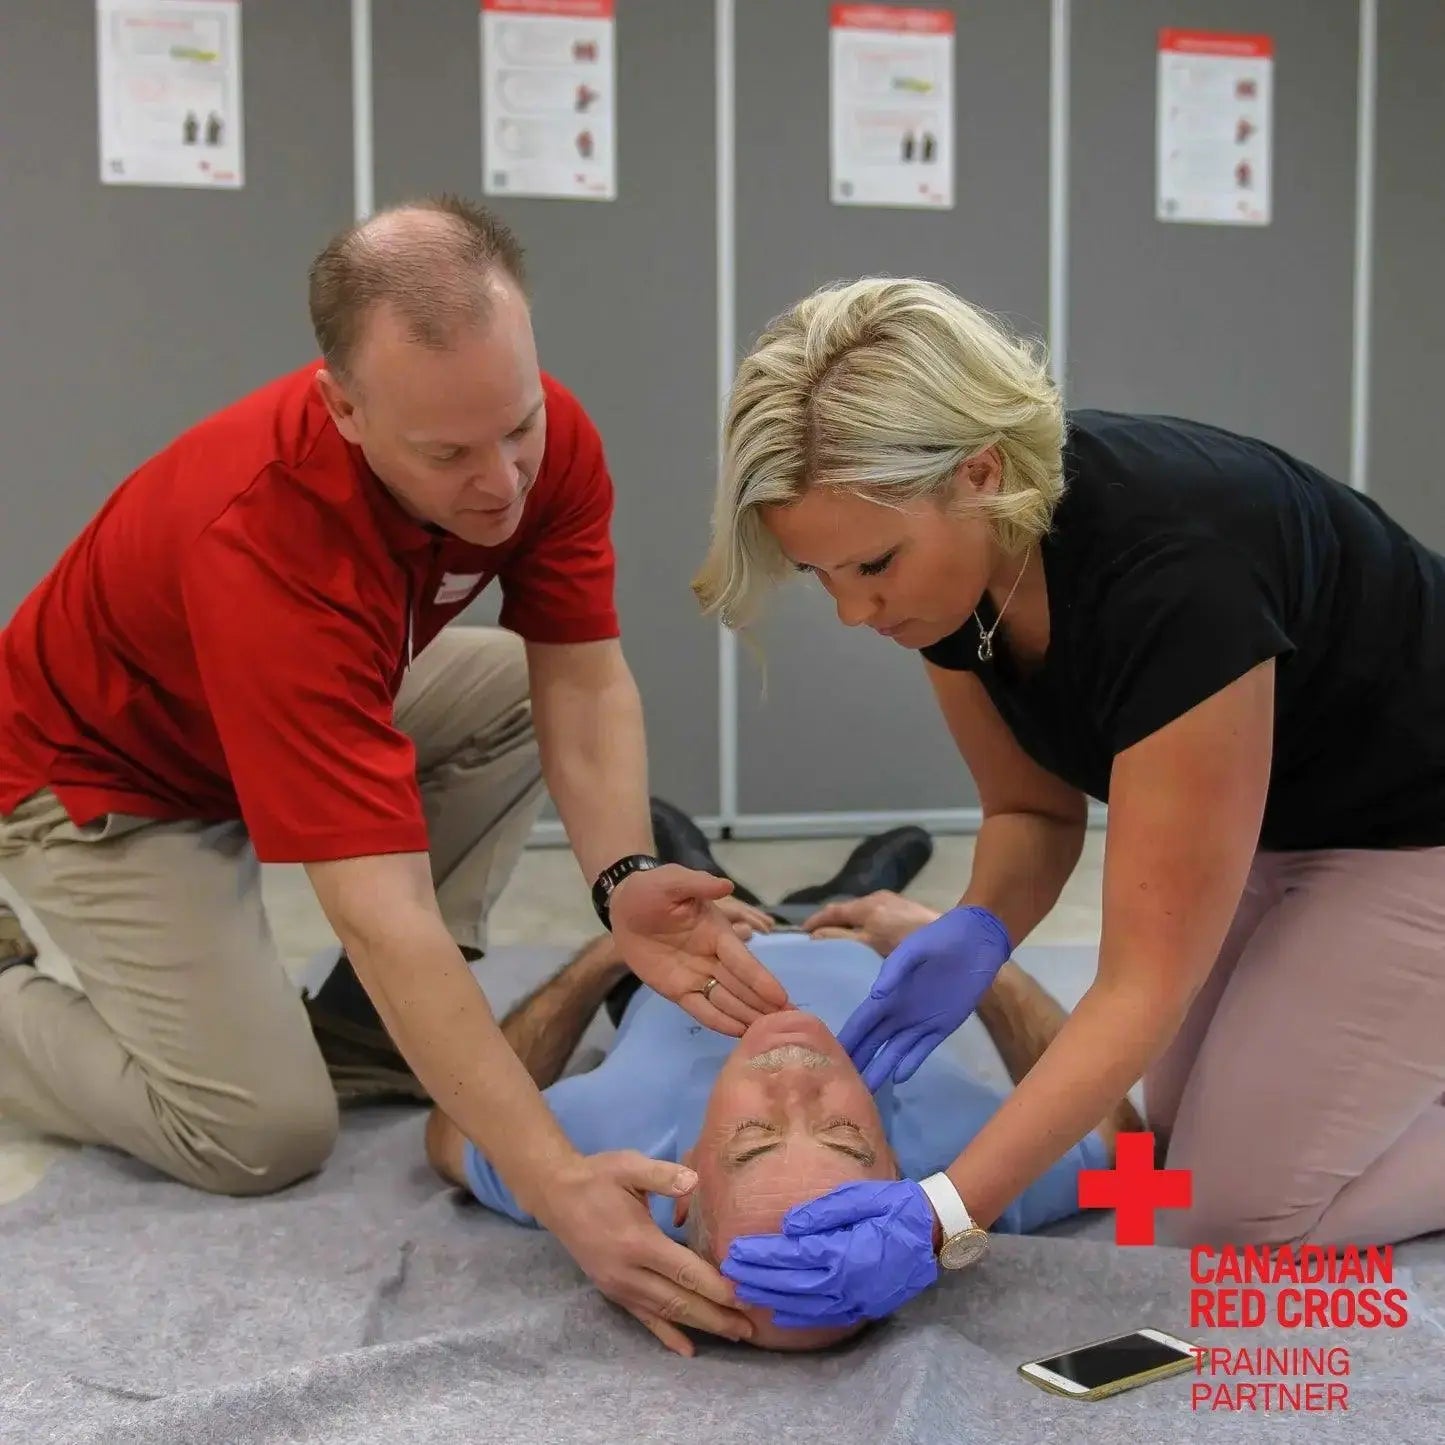
Emergencies at home rarely announce themselves. The gap between reading about CPR and performing it under pressure closes with hands-on practice.
Frequently Asked Questions
What should I do first in a medical emergency at home?
Check for danger before you approach, then check whether the person responds and is breathing normally. If they are unresponsive and not breathing, call 911 and start CPR immediately. If they are breathing but unconscious, place them in the recovery position and monitor their airway. The Red Cross Check, Call, Care sequence covers this: check the scene and the person, call emergency services, then give care within your training.
How do I stop severe bleeding before help arrives?
Apply firm, continuous direct pressure to the wound using sterile gauze or a clean cloth, and do not lift it to check. Add more gauze on top if blood soaks through, then secure it with an elastic or triangular bandage. Call 911 for spurting, deep, or uncontrolled bleeding. A home first aid kit with gloves, gauze, and bandages makes this faster, which matters when every second counts.
What should a home first aid kit contain?
A practical home first aid kit checklist includes nitrile gloves, sterile gauze, adhesive bandages, elastic and triangular bandages, a CPR mask, scissors, tweezers, an instant cold pack, burn gel, and a bilingual pocket guide. Keep one in the kitchen and one in the car. Check expiry dates twice a year, and replace anything opened or expired so the kit is ready when you actually need it.
When should I take a first aid course?
Take a course before an emergency happens, not after. A one-day Basic First Aid with CPR and AED course covers choking, bleeding, burns, CPR, and AED use in about eight hours and certifies you for three years. Parents, caregivers, and anyone supervising others at home or at work benefit most. Hands-on practice with a trained instructor is the part you cannot learn from reading alone.
